How to Prevent Mold Growth After Water Damage: A Step-by-Step Guide
Water damage doesn’t wait—and neither does mold. If you’ve experienced flooding, leaks, or even a burst pipe, you have a very short window before mold begins to take over. Acting fast is key, especially in humid areas like Hawaii. That’s why homeowners often turn to professionals for Kaua’i, Hi water damage repair before the situation worsens.
In this guide, we’ll walk you through how to prevent mold growth after water damage—step by step—so you can protect your home, your health, and your peace of mind.
Step 1: Prioritize Safety First
Before tackling any damage, make sure your home is safe to enter. If the water source was contaminated (like a sewage backup), leave the cleanup to the pros. Turn off the electricity in affected areas and wear protective gear—gloves, mask, and waterproof boots—before you get started.
Quick checklist:
- Turn off power if needed
- Wear safety gear
- Identify the water source (clean, gray, or black water)
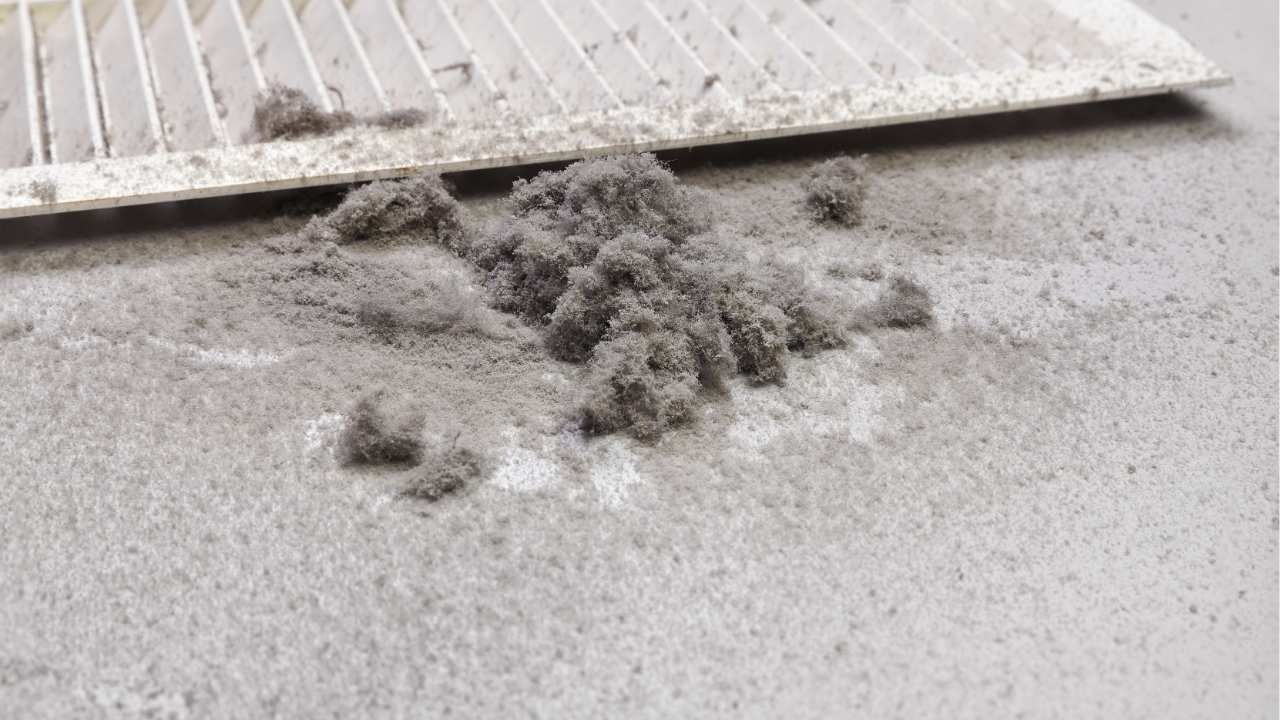
Step 2: Remove Standing Water Immediately
Time is critical. Mold can start growing within 24 to 48 hours after water exposure. Use wet/dry vacuums, mops, or pumps to remove as much standing water as you can. Open windows and doors to ventilate the space, and if possible, run dehumidifiers and fans to speed up the drying process.
Tips to accelerate drying:
- Focus on hidden spots (under cabinets, inside walls)
- Remove waterlogged rugs and furniture
- Elevate wet items to prevent further absorption
Step 3: Dry Everything Thoroughly
Even if a surface looks dry, moisture may still be trapped inside walls, floors, and ceilings. That’s why drying thoroughly is more than just wiping things down—it often means pulling up flooring, removing drywall, and checking insulation.
Moisture meters can help assess what areas still need attention. It’s also wise to contact mold prevention experts like Eco Kauai Services, who can assess the full extent of moisture damage and recommend further action if needed.
Step 4: Disinfect and Clean the Area
After drying, disinfect everything that came into contact with water. Use EPA-approved mold-killing solutions or a bleach and water mixture (1 cup bleach to 1 gallon of water) to sanitize surfaces. Be careful with porous materials—if they can’t be fully cleaned, it’s safer to discard them.
Clean or toss?
- Keep: Glass, hard plastic, metal
- Toss: Soaked drywall, carpet padding, and insulation
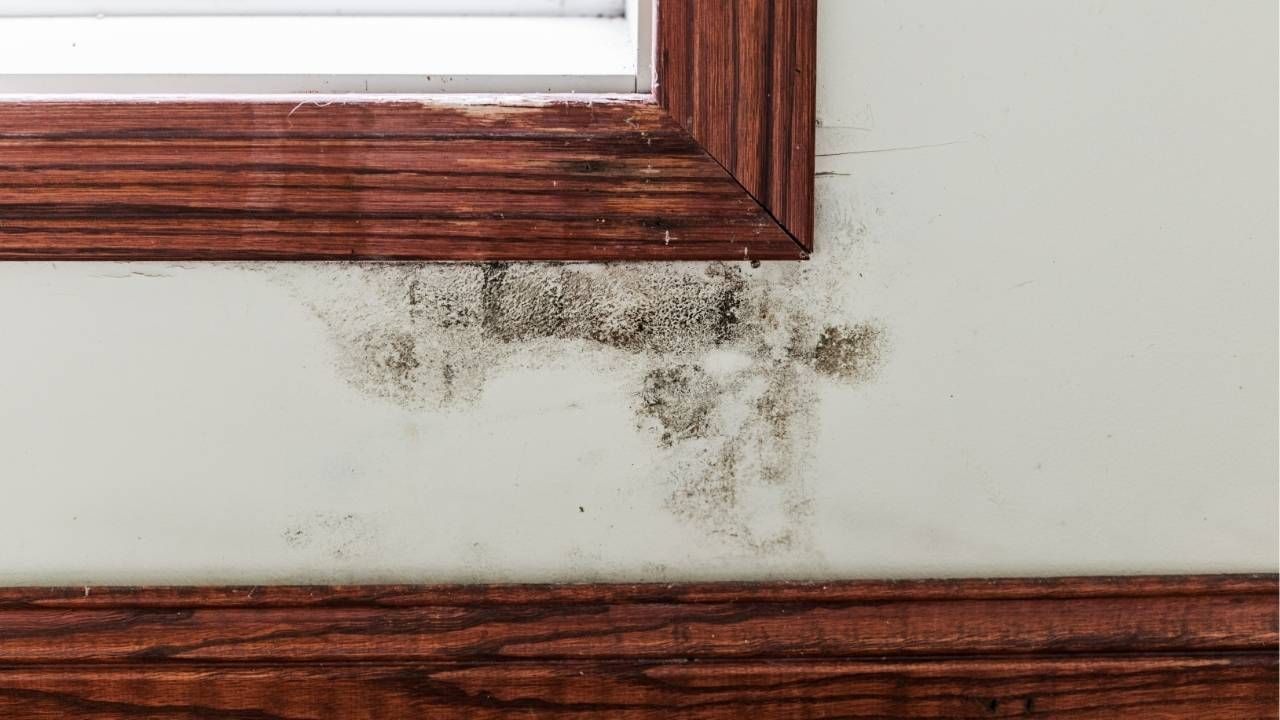
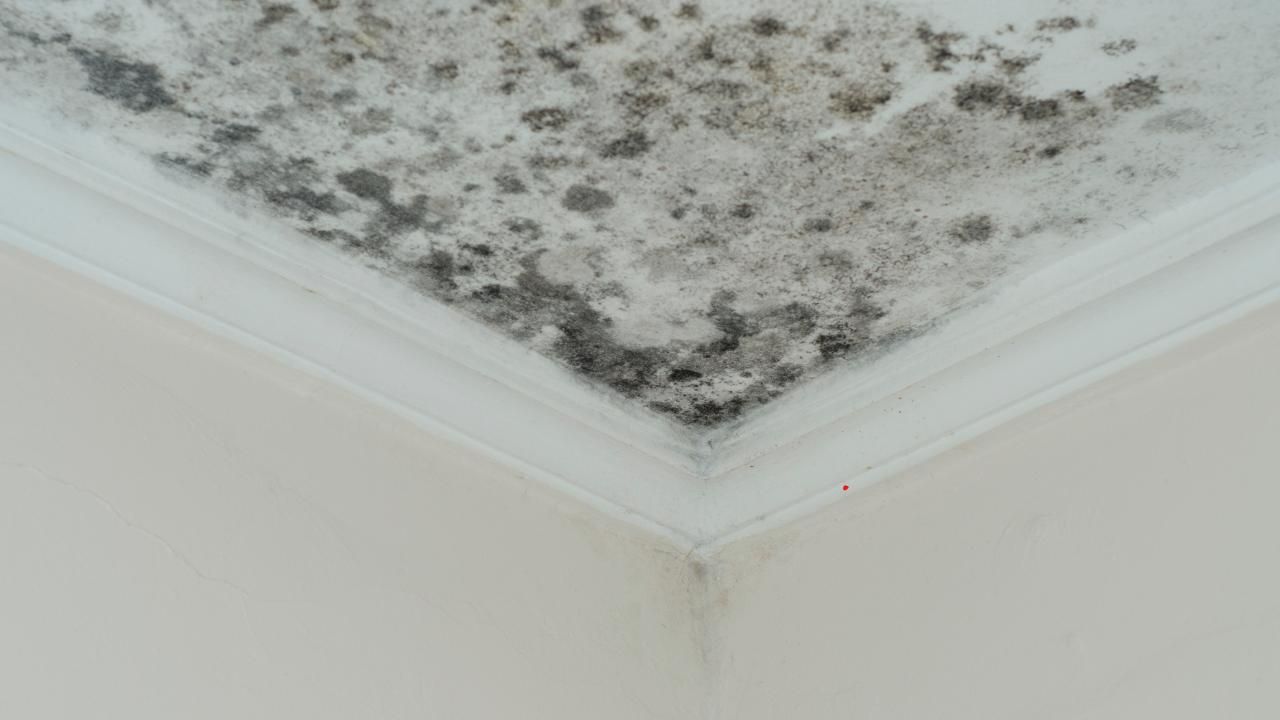
Step 5: Monitor for Mold in the Weeks Ahead
Even with thorough drying and disinfecting, mold can creep back in. Check for musty odors, discoloration, or allergic reactions like sneezing and headaches. If you see signs, call professionals immediately to inspect and contain the issue.
Red flags:
- Persistent damp smells
- Dark or greenish spots on walls, ceilings, or furniture
- Increased allergy symptoms
Case Study: Rapid Action Prevented a Costly Mold Problem
After a washing machine hose burst in a vacation rental on Kaua’i, the property manager acted quickly. They contacted Eco Kauai Services for emergency water extraction and drying. Within hours, the water was removed, and professional-grade fans were deployed. The prompt response and thorough cleanup prevented mold from forming—saving the owner thousands in potential mold remediation costs and keeping the rental property guest-ready.
Final Thoughts
Mold prevention after water damage isn’t just about cleanup—it’s about speed, diligence, and knowing when to call for help. Professional services are often the difference between a minor inconvenience and a major health hazard.
If you're dealing with water damage, act now. Don’t give mold the chance to take root.
Contact us now!