How to Clean Mold Off Walls, Ceilings, and Baseboards Safely
Mold is more than just an eyesore—it can damage your home and affect your health if left unchecked. Whether it’s the result of a leaky pipe, poor ventilation, or storm flooding, knowing how to remove mold properly is essential. If you’re dealing with a major issue, reaching out to professionals who specialize in Kaua’i, Hi water damage repair—like Eco Kauai Services—is a smart first step. But for smaller patches, you can often tackle the cleanup yourself and take steps for mold prevention after water damage.
In this article, we’ll cover practical steps to clean mold off walls, ceilings, and baseboards safely. You’ll also learn how to prevent it from coming back, keeping your home cleaner and healthier long term.
Why Mold Grows on Surfaces
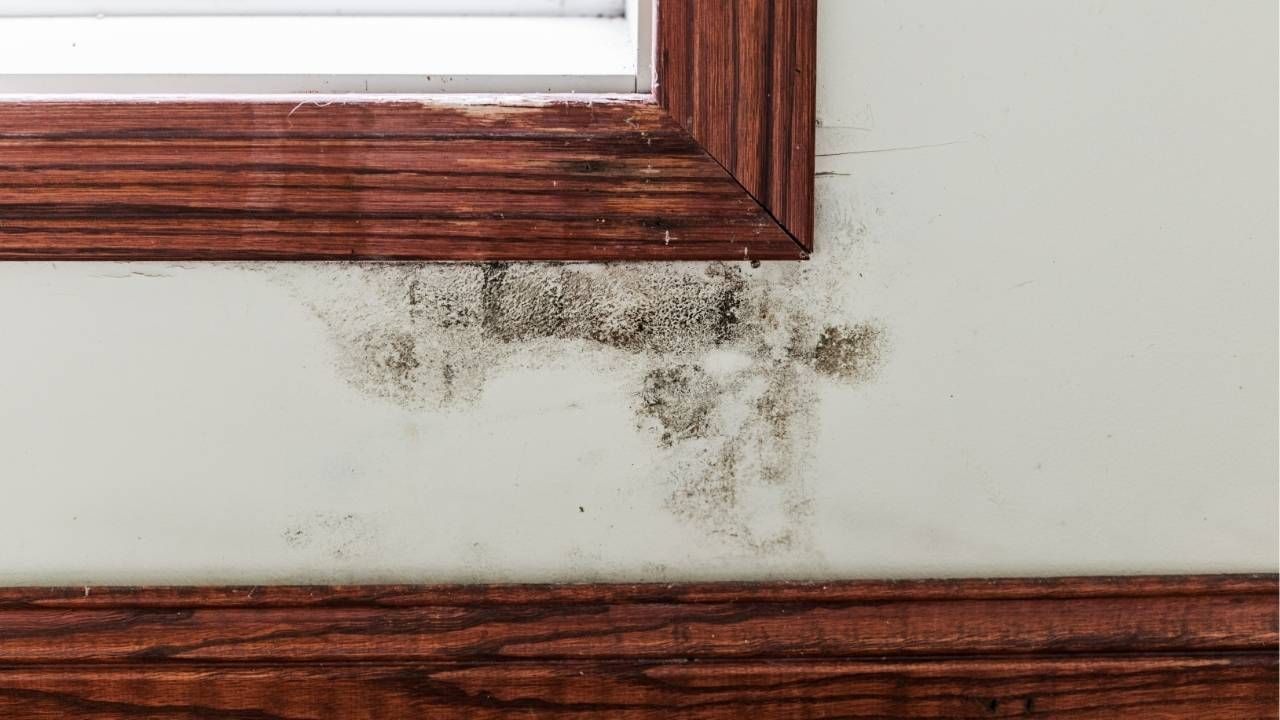
Mold thrives in moist, humid environments. Once water soaks into drywall, ceilings, or wooden baseboards, mold spores find a perfect place to multiply. Common causes include:
- Plumbing leaks
- Roof damage letting in rain
- Condensation in bathrooms or kitchens
- Flooding or storm water
Without proper cleanup, mold can quickly spread to other areas of the home. That’s why early action is key.
Step 1: Prepare Your Space and Protect Yourself
Safety comes first when dealing with mold. Before starting:
- Wear gloves, goggles, and an N95 mask to avoid breathing in spores.
- Open windows and use fans to improve ventilation.
- Lay down plastic sheeting or old towels to catch debris.
This preparation reduces your risk and helps keep mold spores from spreading.
Step 2: Cleaning Mold from Walls and Ceilings
Different surfaces require different cleaning approaches:
- Painted Walls: Mix warm water with mild dish soap. Use a sponge or soft brush to scrub gently. Avoid oversaturating the wall.
- Drywall: Use a spray bottle with a solution of one part vinegar to one part water. Lightly mist the surface and wipe it down. If the drywall is severely damaged, it may need replacement.
- Ceilings: For textured ceilings, use a dry cloth first to remove loose spores, then lightly spray with a vinegar solution. Scrub gently to avoid damaging the texture.
Never use bleach on porous surfaces like drywall—it can make the problem worse by allowing moisture to seep deeper.
Step 3: Cleaning Mold from Baseboards
aseboards often trap moisture along floors, making them vulnerable to mold. To clean:
- Mix vinegar with warm water in equal parts.
- Dip a cloth or sponge and scrub thoroughly.
- For wood baseboards, dry immediately with a clean towel to prevent warping.
If mold has penetrated the wood deeply, sanding or replacement may be necessary.
Step 4: Prevent Mold from Returning
Once you’ve cleaned mold, the real key is prevention. Here’s what works best:
- Fix plumbing or roof leaks immediately.
- Run dehumidifiers in damp areas.
- Use exhaust fans in bathrooms and kitchens.
- Keep indoor humidity below 50%.
- Inspect baseboards and ceilings after storms for early signs of mold.
By controlling moisture, you can drastically cut down the chances of mold returning.
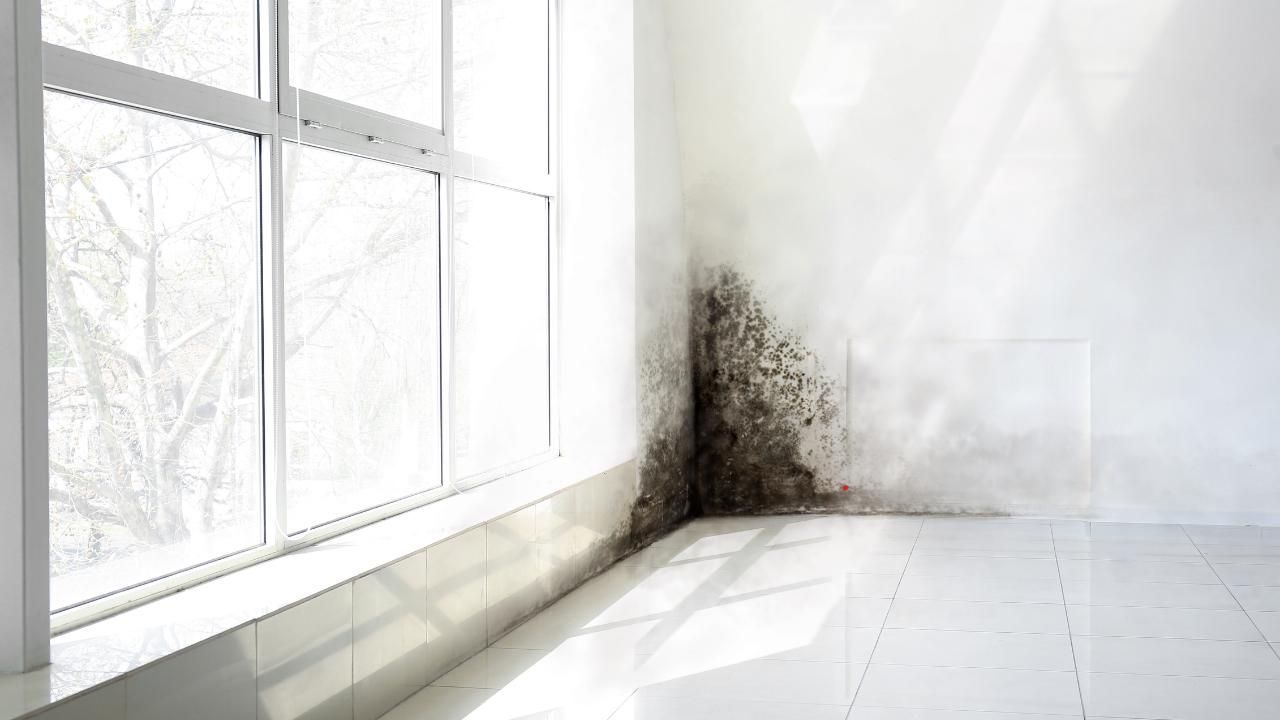
Case Study: A Quick Response Saved a Home
After heavy rainfall, a homeowner in Kaua’i noticed dark patches forming along their ceiling edges. They acted fast—calling in professionals to assess the water damage and handle mold removal. With proper cleanup, dehumidifiers, and sealing, the family not only removed the immediate problem but also avoided costly repairs down the road. This case shows how quick action and preventive steps make all the difference.
Final Thoughts
Mold on walls, ceilings, and baseboards is more than a surface problem—it’s a sign of excess moisture. With the right protective gear, cleaning solutions, and preventive measures, you can tackle smaller mold problems safely. For larger issues, don’t hesitate to reach out to experts who understand how to manage mold and water damage effectively.
Take the next step today—inspect your home for leaks, check hidden corners, and put preventive measures in place before mold has a chance to spread.